The Origin and Appeal of Cheesecake Banana Pudding Bites
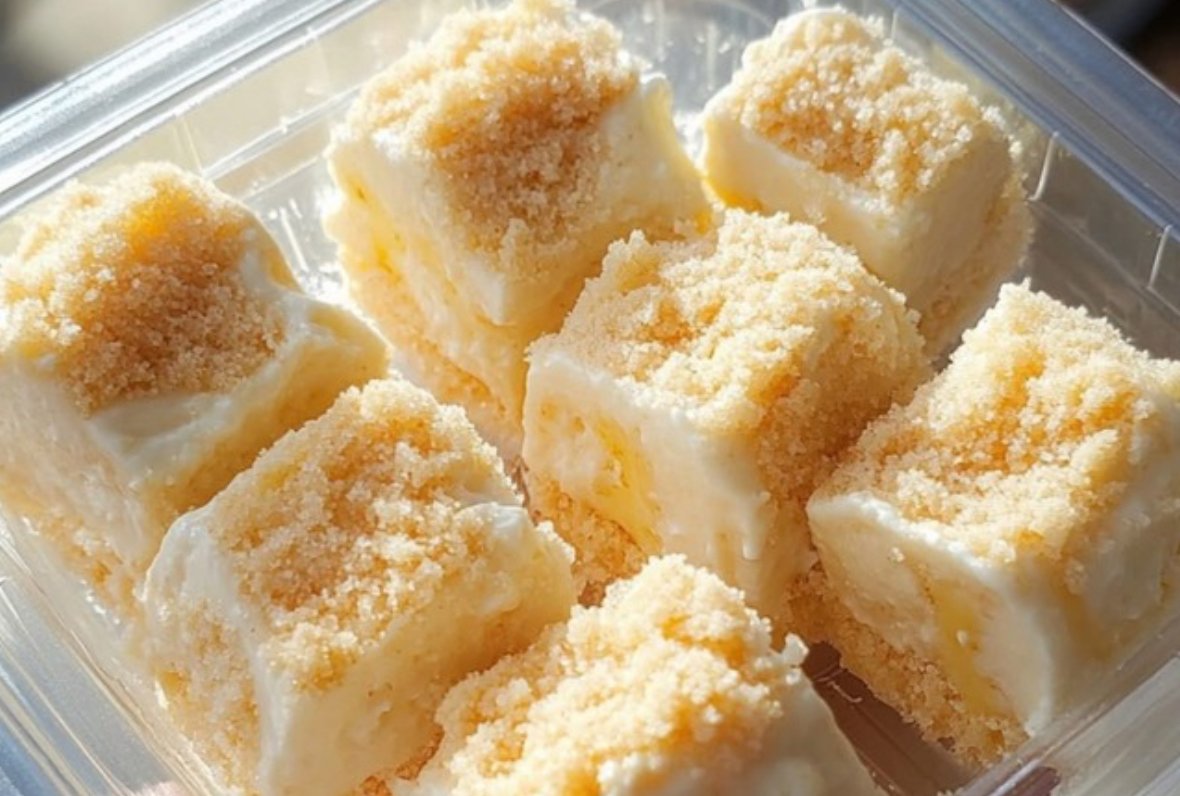
Cheesecake Banana Pudding Bites are a modern twist on two classic desserts: banana pudding and cheesecake. Banana pudding, which traces its roots to Southern American kitchens, is a comforting, creamy treat made with layers of vanilla pudding, bananas, and cookies. Cheesecake, originating from ancient Greece and refined in New York style over centuries, adds a rich, tangy flavor that pairs perfectly with sweet banana and vanilla layers. By combining the two, this recipe offers bite-sized indulgence that’s perfect for parties, gatherings, or a simple family dessert. The creamy layers, soft bananas, and crisp graham cracker crust create a satisfying contrast in textures. Every bite is balanced—sweet, creamy, slightly tangy, and delightfully crunchy. Using fresh bananas adds natural flavor, potassium, and moisture to the dessert, making it taste fresh and wholesome while still being indulgent.
ADVERTISEMENT
Why These Ingredients Work Perfectly Together
Each ingredient in this recipe is carefully chosen to build flavor and texture. The graham cracker crust adds a crunchy foundation that holds the creamy layers. Cream cheese provides richness and a slightly tangy taste that balances the sweetness of the banana and pudding. Powdered sugar lightly sweetens the cheesecake filling without making it overly sugary. Heavy cream adds volume and lightness, turning the filling airy and smooth. Vanilla pudding contributes a silky layer that complements the cheesecake, while fresh bananas give natural sweetness and flavor. Coating the outside with crushed Nilla wafers adds a final crunch and ensures each bite is satisfying. Altogether, these components create a harmonious dessert that is both visually appealing and delicious, combining textures and flavors in every bite.
Why You’ll Love Making These Bites at Home
Cheesecake Banana Pudding Bites are easy to make and customizable for your taste. Preparing them in individual molds or mini cups makes them perfect for parties, brunches, or kid-friendly snacks. They require no baking, making them a stress-free dessert option. The layered assembly allows you to control portion size and presentation, and refrigeration ensures they hold their shape while flavors meld beautifully. Making these at home also means you can choose the sweetness level, the ripeness of your bananas, or add extra flavors like caramel or chocolate drizzle. Guests often enjoy the surprise of the creamy cheesecake layer combined with the classic banana pudding. These bites are also great make-ahead desserts, allowing for easy prep before entertaining. The combination of creamy, fruity, and crunchy elements makes them irresistible.
Ingredients
For the Crust:
- 1 cup graham cracker crumbs
- 2 tbsp sugar
- 1/4 cup melted butter
For the Cheesecake Filling:
- 8 oz cream cheese, softened
- 1/2 cup powdered sugar
- 1/2 cup heavy cream
- 1/2 tsp vanilla extract
For the Banana Pudding Layer:
- 1/2 cup vanilla pudding (store-bought or homemade)
- 1 ripe banana, sliced
For the Topping:
- 1/4 cup crushed Nilla wafers
- Extra banana slices for garnish
Step-by-Step Instructions
Step 1: Prepare the Crust
Combine graham cracker crumbs, sugar, and melted butter in a bowl. Stir until well mixed. Press a small spoonful into the bottom of each mold to form a solid base for the bites.
Step 2: Make the Cheesecake Filling
In a mixing bowl, beat softened cream cheese and powdered sugar until smooth. Add heavy cream and vanilla extract, continuing to mix until the filling is light and fluffy.
Step 3: Assemble the Pudding Layer
Spoon a small amount of vanilla pudding over the graham cracker crust in each mold. Add sliced bananas evenly across the pudding.
Step 4: Add the Cheesecake Layer
Top the banana pudding with the prepared cheesecake filling. Smooth evenly to cover the bananas completely.
Step 5: Coat with Nilla Wafers
Gently press each cheesecake bite into crushed Nilla wafers, coating the outside completely to add texture and flavor.
Step 6: Refrigerate
Place the bites in the refrigerator for at least 2 hours, or until firm. This helps layers set and flavors meld together beautifully.
Step 7: Garnish
Before serving, add extra banana slices on top for a decorative and flavorful touch.
Step 8: Serve and Enjoy
Serve chilled as a dessert for parties, family meals, or as a special treat. Store leftovers in a sealed container in the refrigerator for up to 3 days.
Recipe Timing
- Prep Time: 20 minutes
- Chill Time: 2 hours
- Total Time: 2 hours 20 minutes
- Servings: 12 bites
Nutrition Information (per bite)
- Calories: 160 kcal
- Carbohydrates: 20g
- Protein: 2g
- Fat: 8g
- Saturated Fat: 4g
- Sugar: 12g
1. Can I make these bites ahead of time?
Yes! You can assemble them a day in advance and refrigerate. The flavors meld beautifully overnight, making them even more delicious.
2. Can I use sugar-free pudding or low-fat cream cheese?
Absolutely! Substituting sugar-free pudding or reduced-fat cream cheese will slightly change texture and richness, but the dessert remains delicious and lighter.
3. How do I prevent bananas from browning?
Use ripe but firm bananas. You can also lightly brush banana slices with lemon juice before adding them to prevent oxidation.
4. Can I freeze these bites?
Yes, freeze individually in airtight containers for up to 1 month. Thaw in the refrigerator before serving to maintain texture.
5. Can I make this dairy free?
You can substitute cream cheese and heavy cream with plant-based alternatives. Use non-dairy milk for the pudding to make it fully vegan.